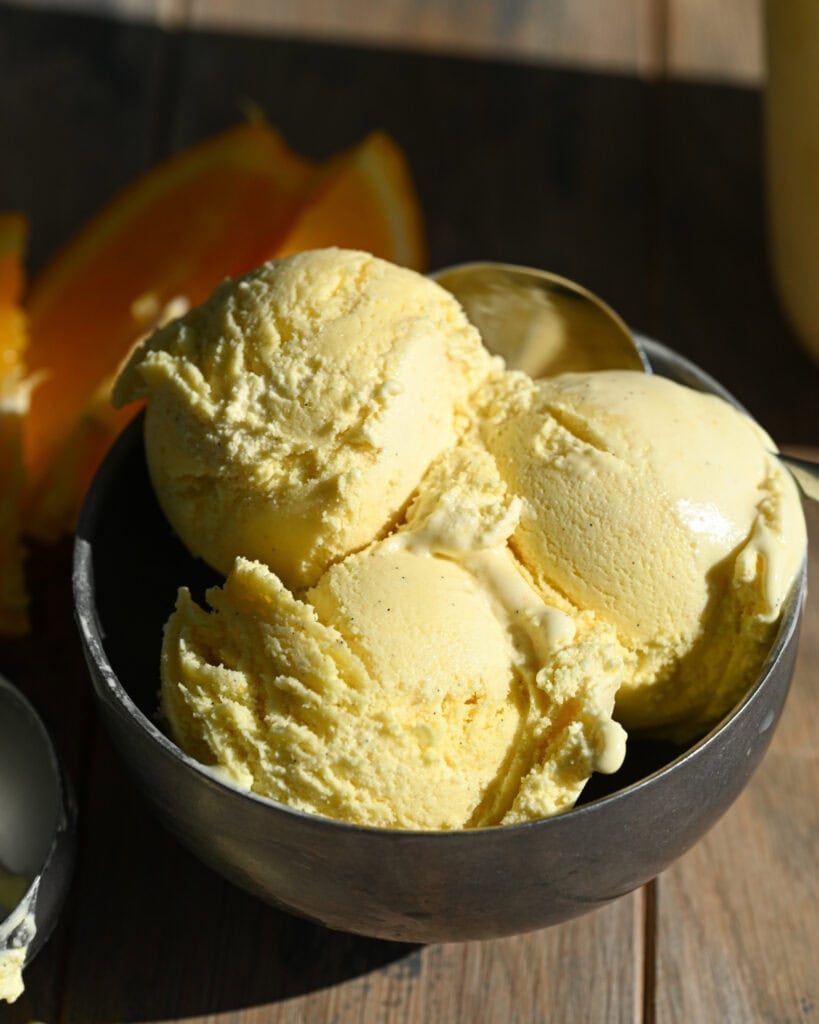
Orange Ice Cream
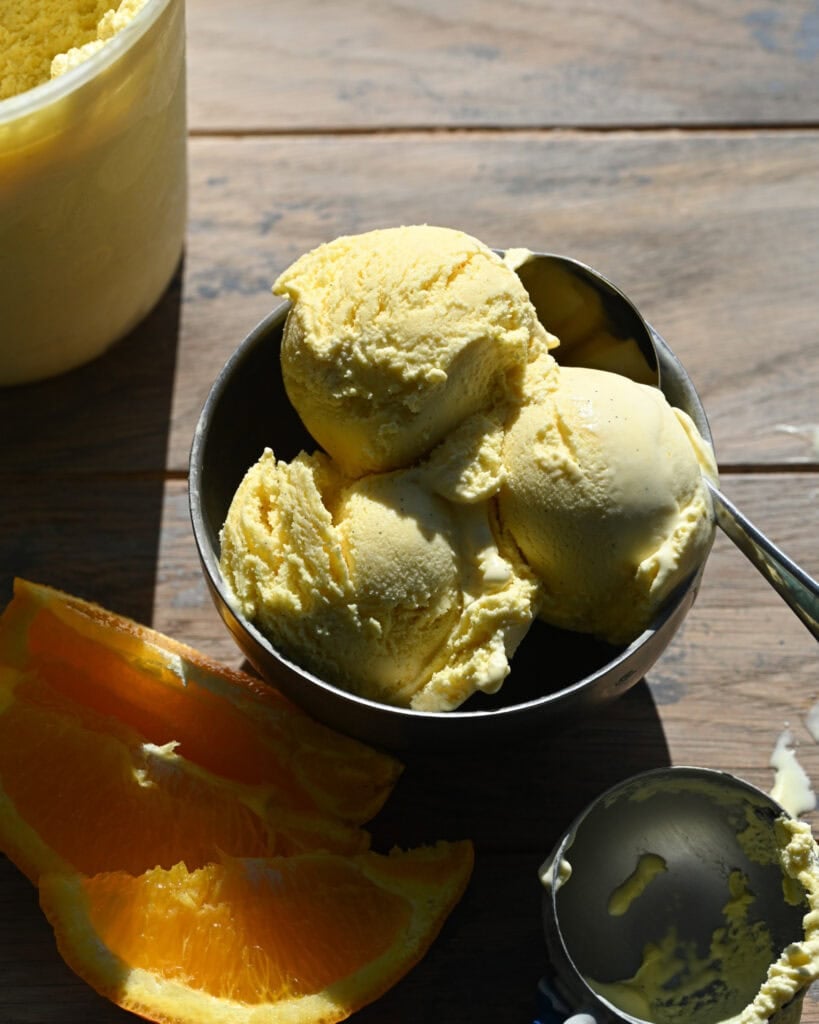
Smooth and ultra creamy orange ice cream that packs a ton of fresh orange flavor and pure vanilla bean. Tastes like an orange creamsicle!
Orange creamsicles or orange julius were my favorite perk going to the mall as a young teen (aside from a hot topic visit for some funky tees). For this orange ice cream recipe, I wanted to recreate not only the flavor, the intense and bright orange with the sweet real vanilla in the background, but the thick and creamy texture.
Recipe Origins
There is a rough rule for making ice cream: 2 cups cream, 1 cup milk, and 4-6 egg yolks, plus flavorings. For my orange creamsicle inspired ice cream I wanted to lean heavily into the things that would make the ice cream creamy, so more heavy cream and more yolks. I also wanted to give you a really bright strong orange and flavor, so there’s lots of zest in here, a full cup of orange juice and a fresh vanilla bean fully scraped.
If you’re a fan of that iconic orange vanilla combination, I think you’re going to love this.
Recipe Ingredients
Sugar: fine granulated or granulated.
Oranges: fresh. Rinse and wipe the oranges clean to remove any residue. We’ll use the zest first then the juice.
Egg yolks: the basis of our custard. The more yolks you use the creamier and thicker the ice cream; six is standard but sometimes I go down to 5 if I’m running low or up to 7 if I have lots of extra.
Cream: heavy cream or heavy whipping cream.
Salt: salt brings out flavor, we need just a bit here.
Vanilla: I like using a bean that is freshly opened and scraped for the most forward flavor. If you don’t have beans, use a vanilla paste.
How to make Orange Ice Cream (Orange Creamsicle Ice Cream)
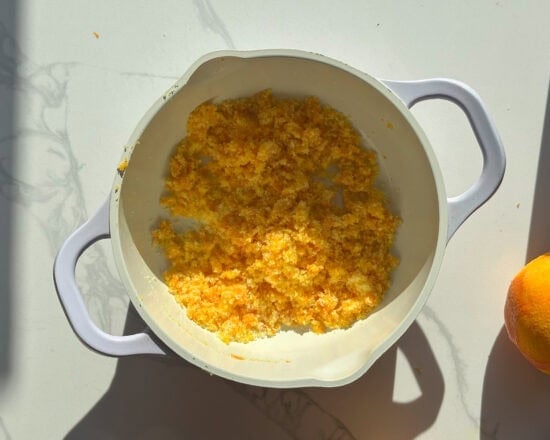
Work in the pot you’ll use to make the custard. Start by zesting the oranges into the sugar. Rubbing the zest into the sugar until it feels wet, to bring out a stronger flavor from the orange peel.
Add the egg yolks then use a blender to blend the mixture or whisk them very vigorously: the goal here is to break up the yolks completely and have a smooth texture.
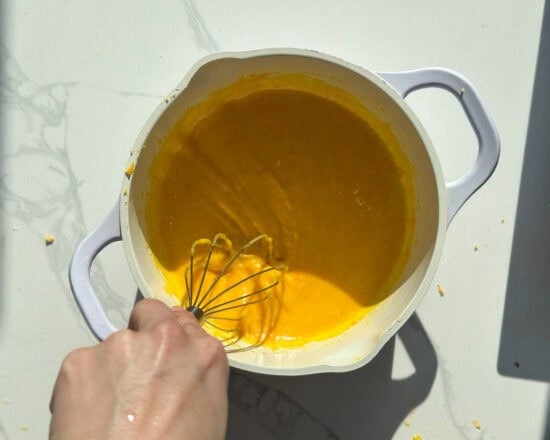
Pour in the heavy cream and juice those zested oranges to get a full cup of fresh oj, pour that in too.
Add the bit of salt and then slice the vanilla bean lengthwise and scrape the knife against the bean so you can remove the seeds inside. Scrape them into the pot and add the full vanilla bean as well (it too has flavor).
Cook
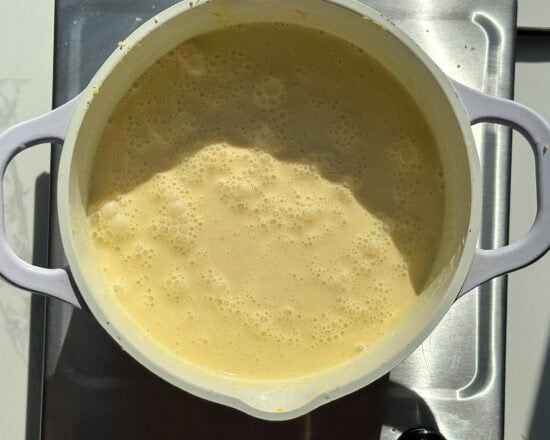
Set the pot over medium low heat, we want to cook this slowly so as not to scald the mix but also not so slow that it takes forever, you can adjust as needed.
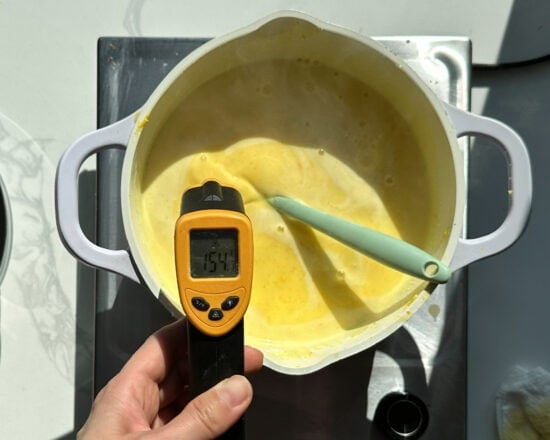
Cook until a thermometer gets to 170 F – this is when the eggs are considered fully cooked, safe to eat. It’s also when the custard will thicken.
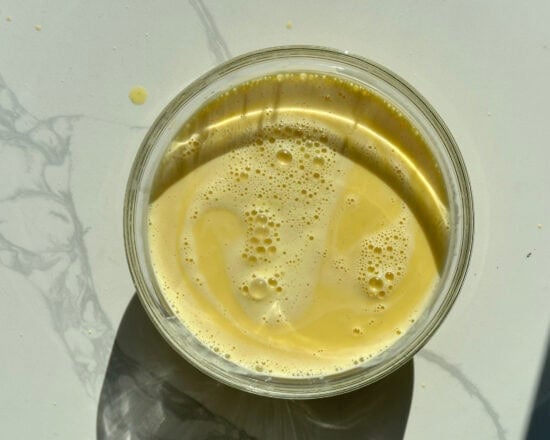
Pour the custard through a fine mesh sieve into a glass bowl (it should be heat safe). This is to remove any bits that will stop our ice cream from being creamy. Don’t worry about keeping the zest, it has already imparted its flavor. Take out the vanilla bean just to wipe the bits off of it but add it back to the strained custard as it will more deeply flavor it.
We’ll chill the ice cream base for at least eight hours but I’ve left it for as long as two days.
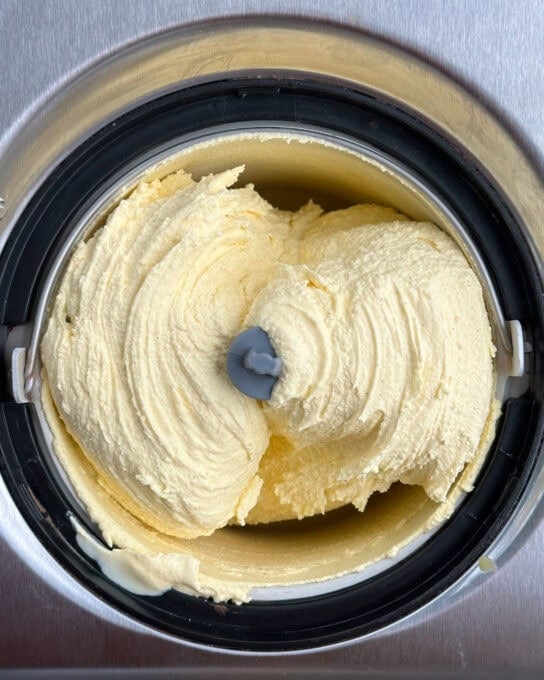
Follow the instructions on your ice cream machine – sometimes you need to chill the bowl overnight before churning. Remember to remove the vanilla bean before churning.
FAQ
How long will the ice cream keep?
I’d say about a month but it’s probably best enjoyed within the first two weeks. It’s best to store it in an airtight container.
Any particular type of orange I should use?
I use navel for that classic creamsicle flavor but I do think cara cara oranges would work great here, or even blood orange which would make the ice cream a delightful pink with a slight berry undertone.
Can I make the ice cream without the egg yolks?
I don’t recommend it; not only would you sacrifice the creaminess of the custard but also the shelf life of the ice cream. Without the yolks you’ll develop ice crystals quicker.
Orange Ice Cream Recipe
Orange Ice Cream
Ingredients
- 100g or ½ cups fine granulated sugar
- Zest of 3 oranges
- 6-7 egg yolks
- 240g or 2 cups heavy cream or heavy whipping cream
- 240g or 1 cup freshly squeezed orange juice
- ¼ teaspoon fine sea salt
- 1 vanilla bean
Method
- Set the sugar in a pot, zest the oranges over the sugar then rub the zest into the sugar with your fingers until it feels like wet sand.
- Add the egg yolks to the pot and use an immersion blender to blend the mix until smooth and the yolks are completely broken up. If you don’t have an immersion blender you can do this in a blender or use a whisk, and be vigorous =)
- Add the heavy cream, orange juice, and salt to the pot and whisk well. Use a sharp knife to split the vanilla bean open lengthwise then scrape up the caviar/seeds inside, add the seeds to the pot and whisk, then and the bean as well.
- Set the pot over medium low heat, and cook, stirring frequently until the temperature reaches 170 F. The cream will thicken slightly.
- Pour the custard into a bowl through a fine mesh sieve to remove any bits (the zest has already imparted its flavor). Wipe the vanilla bean clean then add it to the custard - keeping it in will allow the flavor to deepen. Chill the custard for at least 8 hours, or up to 48.
- When ready to churn, remove the vanilla bean and pour into your ice cream machine - following its instructions for churning.
Notes
Did you make this recipe?
Share & tag me on instagram @buttermilkbysam


PERFECTION! Keep the ice cream recipes coming! I finally found a recipe that doesn’t have ice crystal upon eating….the secret ALL HEAVY CREAM! No milk…..what a difference. I’ve made it twice in a week! Hey, strawberry season is upon us soon!
Hi Karen – so happy you liked it! I have three buckets of freshly picked berries in my fridge and was just thinking a strawberry ice cream might be on the horizon ;p