Brown Butter Strawberry Shortcake
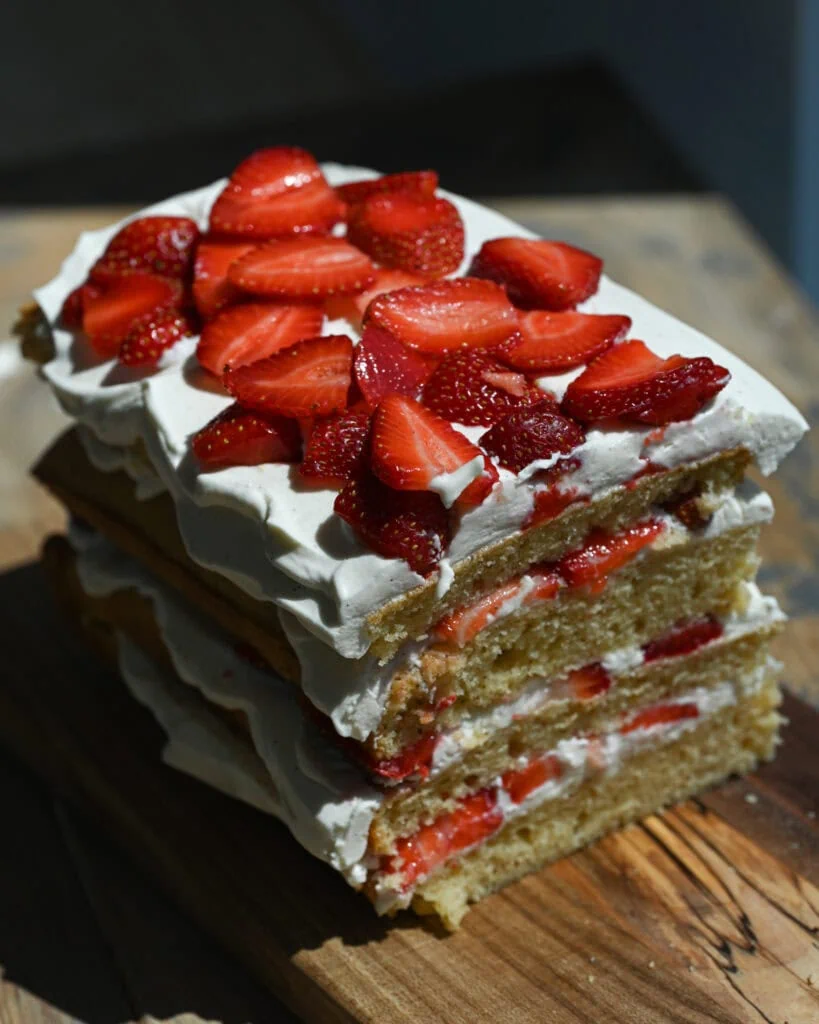
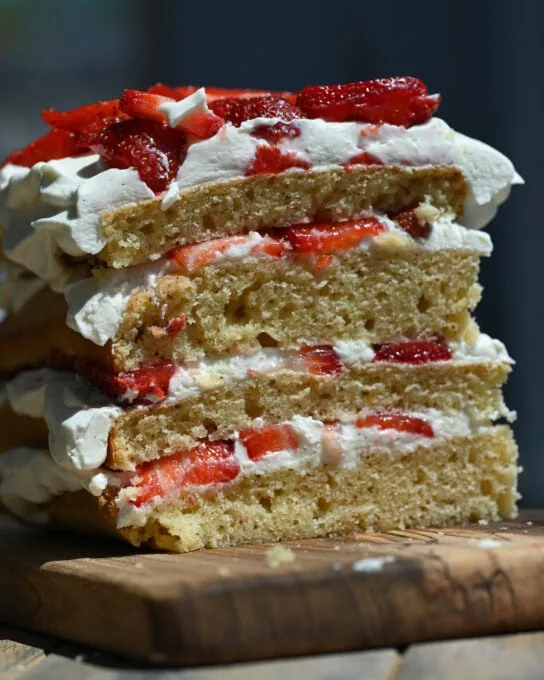
Moist layers of brown butter cake layered with fresh cream whipped with vanilla bean and sliced strawberries. This cake is made in one layer, sliced into four then stacked, so each strawberry shortcake slice gets a total of 8 layers.
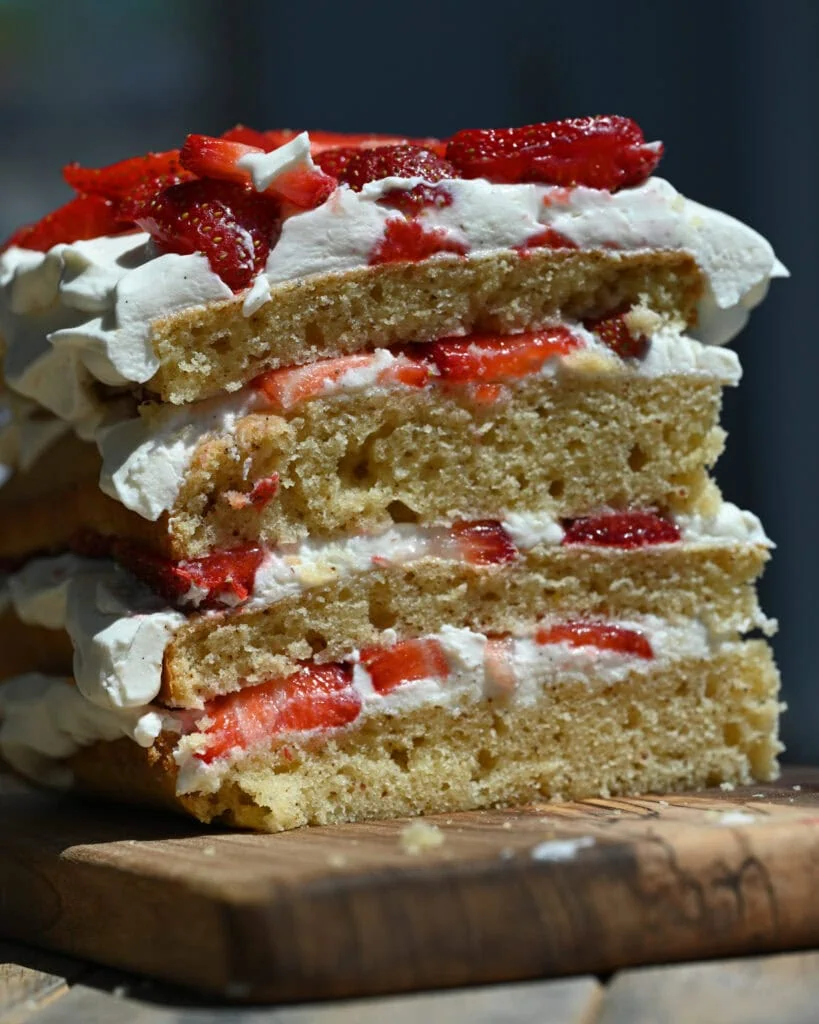
About a month after I shared my everyday butter cake recipe someone had commented on tiktok that I should turn it into a strawberry shortcake. It took me another month or two but I finally got to it and that person was so right – it was the PERFECT cake for a filling with fresh berries and whipped cream.
For a while I had the strawberry shortcake version of ebc on that page, but it made the post a bit too long and didn’t quite fit so I took it down.
Recipe Origins
This year when my strawberry haul came in (ie. we went to the farm and picked buckets!) I was remembering my brown butter strawberry shortcakes with the biscuit version of ‘shortcake’ which I had shared on substack and thought I should redo the strawberry cake (with the more pound cake texture of ebc) but with brown butter.
But instead of using this everyday brown butter cake I wanted to strike somewhere in between the two cakes so we could really taste the brown butter but still have something closer to a pound cake: so no brown sugar but ebc with brown butter.
The Shape & Testing
Also, I’ve been doing this thing for our family celebrations where I bake a chocolate cake in a square pan and slice it into 4ths, stack them and layer it with chocolate whipped cream. We LOVE this style of cake because you get multiple thinner cake layers and lots of filling – and I just thought, the idea of a strawberry shortcake like that would be WONDERFUL. Anyway, that’s my very long thought process into how this cake came about!
You’ll notice that this cake is made more like a pound cake (with the butter creamed with the sugar) rather than like the original EBC. I had tested it initially with melted butter but found it denser than I wanted for a strawberry shortcake. By creaming, I was able to incorporate more air and it made for a slightly lighter cake.

Recipe Ingredients
Strawberries: use the freshest, juiciest berries you can. The best ones are locally grown in season!
Butter: this will be browned for the cake. Use a good quality with a high butterfat percentage if you can. Unsalted or salted is fine but if you’re using salted, add less salt to the cake batter.
Sugar: fine granulated sugar. You can also use this in the whipped cream though powdered sugar is better.
Vanilla: pure extract or paste – this and the brown butter are main flavors so we’ll use quite a bit. We’ll also need some for the whipped cream filling.
Salt: fine sea salt. See note above about using salted butter. If you’re using table salt, halve the amount.
Eggs: large, and they *must* be at room temperature or the batter will split. Set them in a bowl of warm water before starting.
Cake flour: this is made from a softer wheat than other flours and is more finely milled. You can substitute with all purpose flour though the cake will be less tender.
Sour cream: full fat. Labneh works too.
Heavy whipping cream: or heavy cream, for the chantilly cream/whipped cream.
How to make brown butter strawberry shortcake
The Cake
Brown the butter
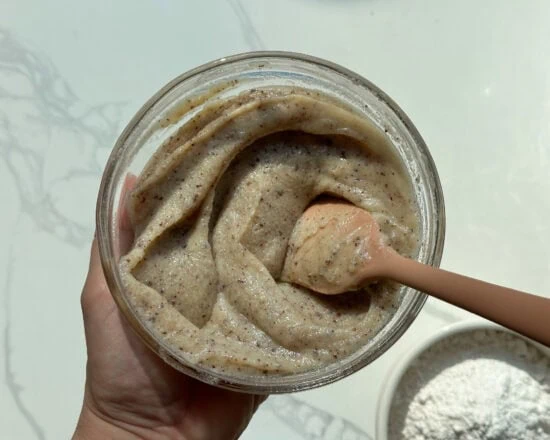
Set the butter in a light colored (so you can see the bottom) large frying pan (we’re browning a little over two sticks). Have it at a medium to medium low heat and cook until the butter melts, sputters and separates, and the bits at the bottom turn a toasty brown (not black – that would be burnt). Don’t keep it in the pan or it will keep cooking and burn, transfer it right away to the bowl you’ll make the batter in and scrape down all those bits.
Set the bowl in a cool place (if your kitchen is warm, set it in the fridge). We want the texture of the now browned butter to be like softened butter, so soft enough to cream.
Prep
Grease a 9 inch square metal baking pan. Over lay two sheets of parchment so the pan is fully covered.

Preheat the oven to 350 F.
Make the Batter
When the butter is solid but creamy, add it, the sugar, the vanilla and the salt to the bowl of a stand mixer. Use the paddle attachment to beat the mixture until it’s light, airy, fully creamed – this can take around 5 minutes or longer. You’re looking for it to be several shades lighter.


With the mixer on, add the eggs one at a time – waiting 20 seconds before adding the next. It’s SO important that the eggs are at room temperature or they will cause the batter to split.

Sift in the cake flour and add the baking powder. Mix it a bit (so flour doesn’t go flying everywhere when you turn the mixer on) and add the sour cream.

Then beat until the batter is evenly mixed.

Tip: be sure to scrape down the bowl often – at all steps and after each ingredient addition – so that you won’t have bits of unmixed batter when it goes into the pan.
Pour the batter into the pan and shimmy the pan so the batter is even.

If you have cake strips and would like to use them so the cake rises without a dome, use them.
Bake the cake until a cake tester comes out clean, about 30-40 minutes (do not rely on timings but visual cues).
Let the cake cool for five minutes in the pan then invert onto a cooling rack until completely cool.
Filling Prep
Make the whipped cream, following this recipe (but increase the amount of heavy cream so you have enough for all the layers).
Slice the strawberries horizontally so they will lay in flat slices in between the cake layers.
Assembly
While stacking the cake layers, have the bottom part of the cake be the first (bottom down) and last or top (bottom up) of the cake. Spread whipped cream and layer with the sliced berries.
Cake is best the day of! The strawberries tend to soften into the whipped cream overnight so it’s best eaten the day of assembly. That said, you can make the cake and freeze it until the day of serving.

Brown Butter Strawberry Shortcake Recipe
Brown Butter Strawberry Shortcake
Ingredients
- 285g unsalted butter
- 200g or 1 cup fine granulated sugar
- 1 tablespoon vanilla extract
- ¾ teaspoon fine sea salt
- 3 large eggs at room temperature
- 270g or 2 cups cake flour sifted
- 2 teaspoons baking powder
- 180g or ¾ cups sour cream full fat
- Stabilized whipped cream use this recipe but increase the whipped cream to 3 cups
- Fresh strawberries sliced thin, about a quart
Method
- Set the butter in a large, light colored frying pan. Cook on medium as it melts then begins to separate; you’ll see cream colored bits dropping to the bottom of the pan. Keep cooking, stirring frequently, until the bits turn a toasty brown color. Transfer to a large bowl and let cool completely. If your kitchen is cold, leaving it on the counter will get it to a solid state but if not, let it sit in the fridge until it’s the consistency of softened butter.
- Preheat the oven to 350 F. Line a 9x9 inch square metal pan with parchment paper (two overlaying sheets so all sides are covered).
- In the bowl of a stand mixer, add the sugar and softened brown butter. Affix the paddle attachment and beat until light and airy - the mix will turn several shades lighter and it will take at least 5 minutes. Add the salt and vanilla as it beats.
- Add the eggs, one at a time, beating well after each addition. The mixture will turn shiny as the eggs are incorporated.
- Sift in the cake flour and add the baking powder and start beating to incorporate. When it’s halfway mixed, add the sour cream and beat until smooth.
- Pour the batter into the prepared baking pan. Gently shimmy the pan on the counter so the batter is even.
- Bake the cake until a cake tester comes out clean - about 40 minutes (different ovens/pan materials can lead to different bake times, always go by visual cues and not a listed time which is there only as a guide).
- Let the cake cool in the pan for about 10 minutes then transfer it to a cooling rack until it’s cool enough to touch. Slice off the cake hat (where it has risen in the middle) so that the layers will be even (enjoy it as a snack!). Now slice the cake in half horizontally, a cake slicer is best here but a bread knife and a steady hand can work too) so you have two flat 9 inch cakes. Slice down the middle of the cake (around the 4-4.5 inch mark) to cut it vertically so you have four small rectangles. Let these cool completely before assembling the cake.
- Slice a quart of strawberries thinly. If your berries aren’t particularly juicy and flavorful, add a teaspoon of sugar, a pinch of salt and a bit of lemon juice and let them soak for 10-15 minutes - remove the excess liquid before adding these to the cake.
- Prepare the stabilized whipped cream according to the recipe above (all ingredients in the food processor, process until thickened).
- Assemble the cake: lay the first cake slice (it should be from the bottom of the cake, save the other bottom for the top - the two upper layers can go in the middle), on your serving platter so the interior of the cake is face up. Spread whipped cream over the cake so you have a layer that’s about a centimeter thick, arrange a layer of strawberries on top in a single layer that covers most of the whipped cream. Lay a second cake slice over the berries (this one can be interior face down) and repeat the whipped cream and strawberries layers. Add the third layer and repeat. For the last cake slice, it should be a bottom cake slice and layer it so the interior of the cake is face down. Layer on the last of the whipped cream and strawberries. If you plan to serve this later, consider spreading whipped cream on the sides to protect the cake from drying out.
- To serve: slice the cake from the shorter end of the rectangle. Leftovers don’t keep very well as the berries will release more juices and make the cake/cream soggy so enjoy it the day of!
Did you make this recipe?
Share & tag me on instagram @buttermilkbysam


