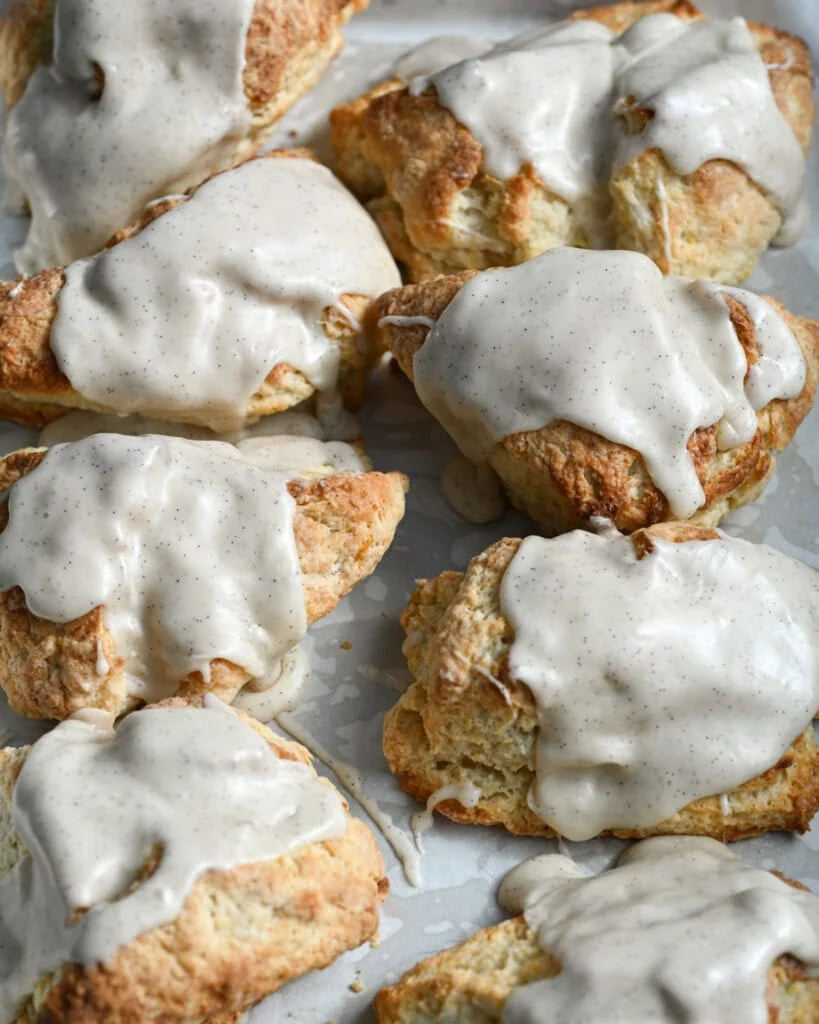
Flaky Buttermilk Scones
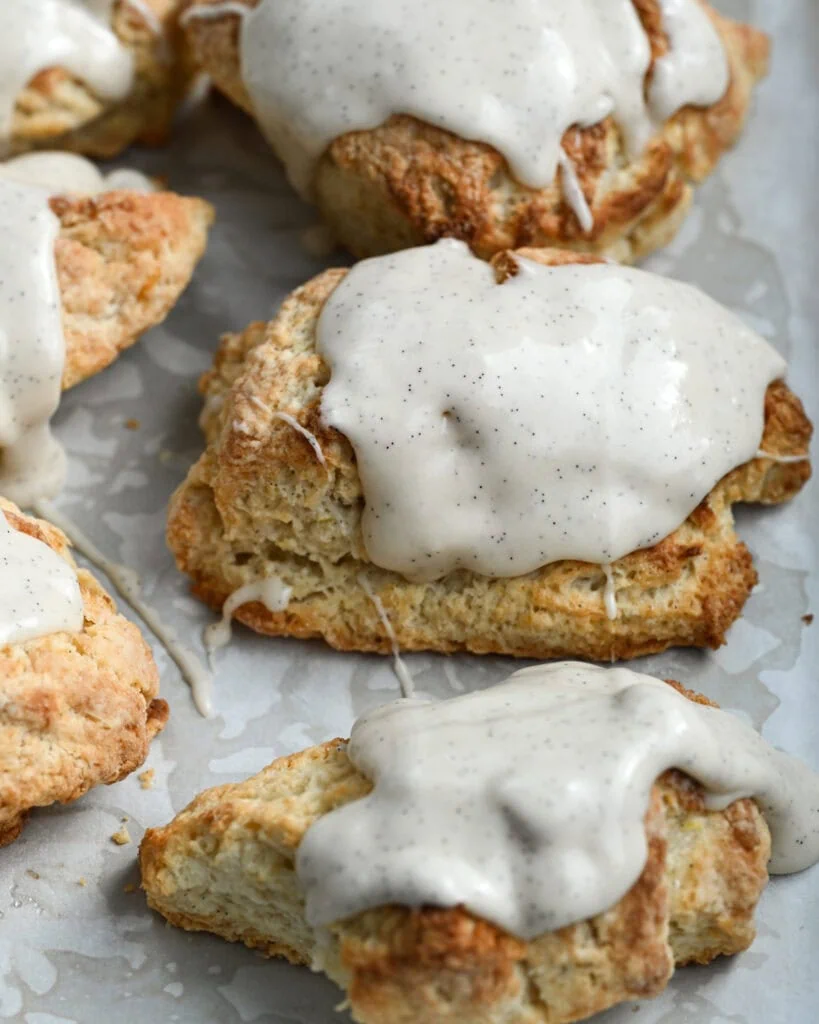
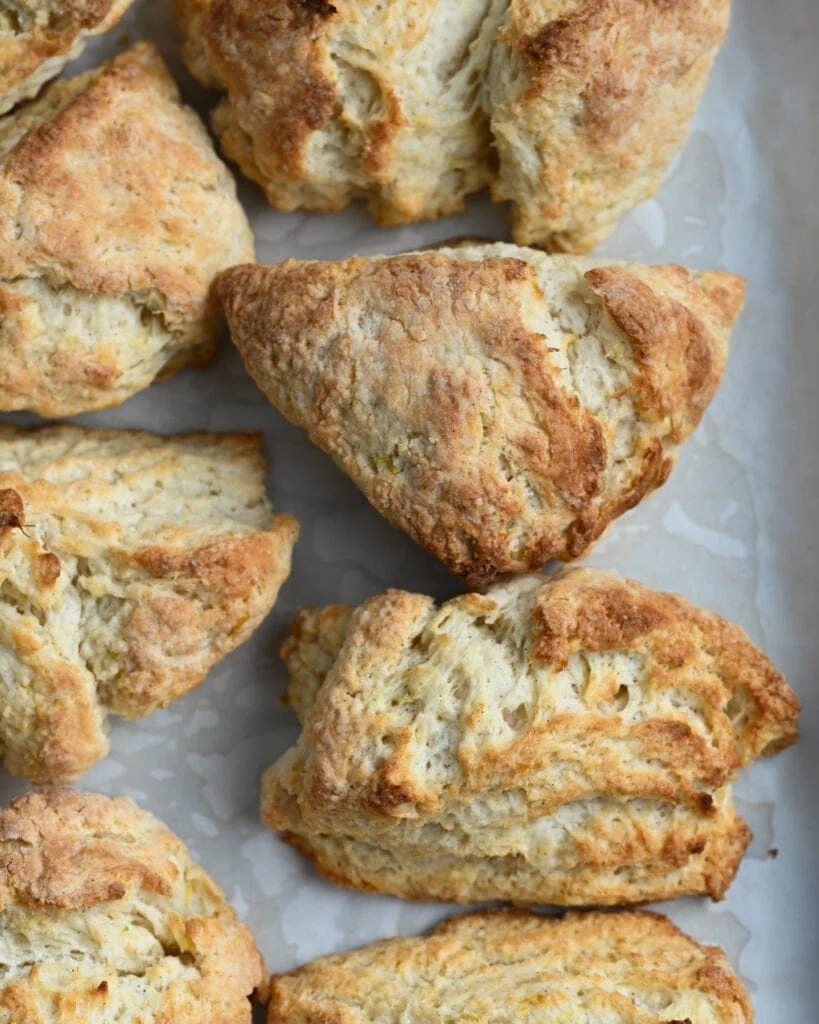
Quite unlike a traditional english scone, these one bowl buttermilk scones are lighter and rise high with wonderfully buttery, flaky layers.
These came about after I was testing a scone base to be a lemon poppyseed scone. On attempt number 3, I was low on cream and thought to use buttermilk instead – I knew the acid would create a lighter scone that rose high. The result was rather like a sweet biscuit and so wonderfully delicious. Traditional english scone enthusiasts may find this to be lacking though I imagine if you’ve stumbled upon this page from searching for buttermilk scones then you weren’t too serious about sticking with the classic method 😉
Recipe Ingredients
Sugar: depending on how sweet you want the scones, you can reduce this to as low as a quarter cup (50g).
Lemon zest: optional – I love it there for extra sweetness and flavor. You can also use orange zest.
Salt: fine sea salt. Table salt has a ‘saltier’ taste so if you are using that you’ll want to reduce the overall amount.
Flour: all purpose. Scones made with lower protein flours tend to be more tender but use what you have.
Baking powder: leavening to make the scones rise.
Butter: unsalted and cold. Salted is fine too but you may want to reduce the salt added to the dough if you don’t want it overly so.
Buttermilk: whole or low fat buttermilk. No substitutes. (Don’t use homemade concoctions, they aren’t creamy enough).
Vanilla: pure vanilla extract or vanilla bean paste. You will taste it here so use the good stuff.
How to make flaky buttermilk scones
Make the Dough
Begin with a large mixing bowl and add the sugar.
If you are adding a citrus zest, zest the lemons/oranges into the sugar and rub with your fingers; this releases more flavor.

Whisk in the remaining dry ingredients: flour and baking powder.

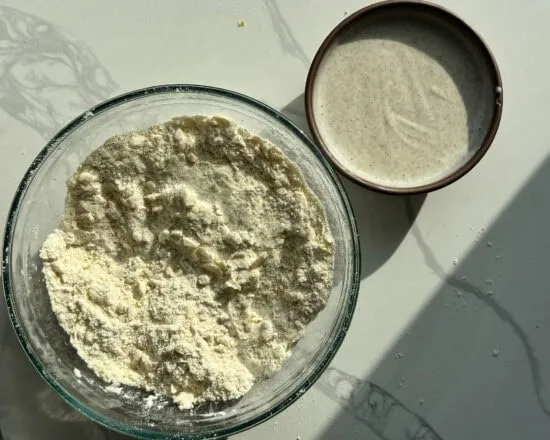
Cut in the butter: the butter should be cold and sliced thinly (I use the larger side on the cheese grater). Then you can use your hands or a pastry knife to rub it into the flour, breaking it up so it coats the flour and is about the size of a kidney bean.
Whisk together the vanilla and buttermilk. Pour this mixture into the bowl and toss a few times to mix it in gently.
Use your hands to fold and squeeze the dough together, over and over, until you have a shaggy, shapeless ball.
Shape
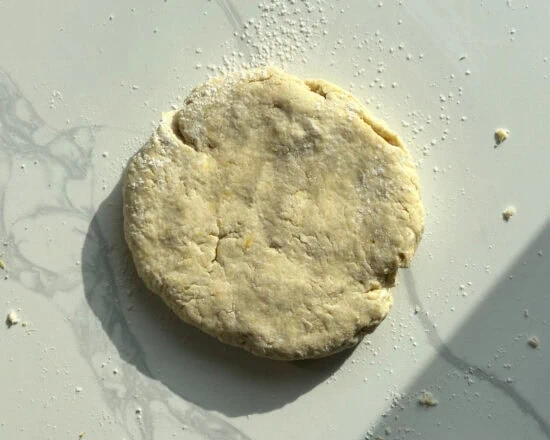
Set it on a floured countertop and flatten into a disk that’s about an inch thick.
Use a bench scraper or a knife to slice the disk in half, then half again so you have quarters. Stack the quarters on top of each other then press down to flatten once again into a disk. The disk should be about 8 inches diameter, a little less than an inch thick. Slice this disk into eighths.
Prepare a baking pan, preferably a small cookie sheet, with parchment paper. Arrange the scones so they are alternating right side up and upside down, fairly close together (no more than an inch between them).

Bake
*If you don’t have a small cookie sheet use a large one but keep the scones close together.
Set the scones in the freezer (if your cookie sheet is too large place them on a plate to freeze) for about 15-20 minutes. This cools the butter pieces so that it becomes solid and will melt in the oven, pushing the dough layers apart.
Preheat the oven to 400 F. Bake the scones until they are golden all over. Sometimes they shoot up, then fall down – a sign of lots of layers.
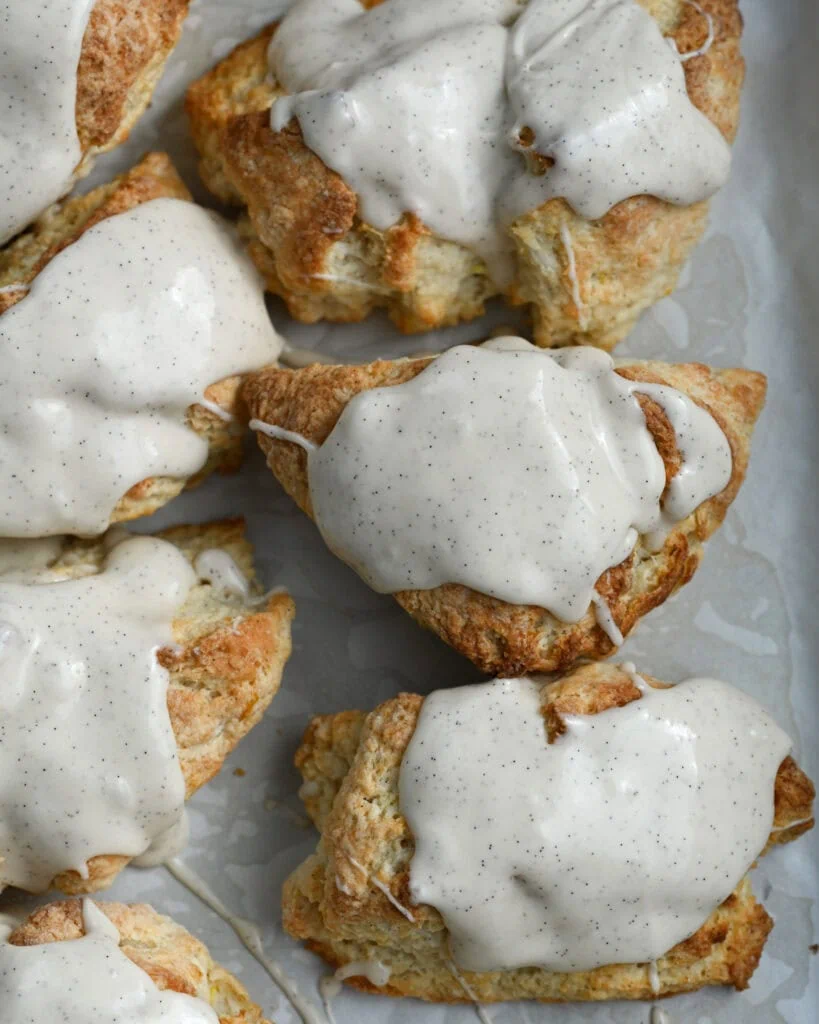
Let cool, then glaze.
Flavor Options, Add ins and Topping Options
The base of this recipe is a vanilla buttermilk scone but there’s lots you can do with it, adapting it to your taste and needs:
I have lemon zest listed in the recipe but you can also use any kind of citrus zest. This will go in with the sugar and should be rubbed in.
Spices are welcome too; a teaspoon or two of cinnamon would be lovely here as well as cardamom or nutmeg. Add the spices with the flour and salt.
Add-ins like blueberries (whole), chocolate chips, cacao nibs, etc. would be great. Add them after the butter and before the buttermilk goes in. Careful with the blueberries so they don’t burst.
I have a vanilla glaze listed in the recipe but you can make the glaze with a fruit juice (eg. lemon or orange, freshly squeezed in lieu of the cream/milk).
Alternatively, right before baking, brush the scones with cream or milk and sprinkle a coarse sugar on top: it’ll give you a crunchy topping.
FAQ & Troubleshooting Help
My scone dough is too dry.
The dough should be at least a bit dry so don’t be too quick to add liquid to it. See the photos above (and the video below) to help you get a sense of the dough. If it’s awfully dry, it could be that the flour was overmeasured; it’s best to use a scale.
My scones didn’t rise.
This can also be an issue of flour measuring (see above), but also overworking the dough. The type of flour used can impact too; aim for a medium to low protein content. Lastly, check the expiration date of both the baking powder and buttermilk.
The butter leaked out of the scones and went all over the pan.
This will happen if the scones go into the oven and the butter is at room temp, or has been warmed to the point that instead of being solid when going into the oven, it has already melted and will leak out of the scone. Keeping the butter cold through the dough-making process and before going into the oven is key.
Recipe for Flaky Buttermilk Scones
Flaky Buttermilk Scones

Ingredients
Buttermilk Scones
- 100g or ½ cup fine granulated sugar
- Zest of 2-3 lemons optional
- ½ teaspoon fine sea salt
- 325g or or 2 ½ cups all purpose flour
- 1 ½ teaspoons baking powder
- 113g or ½ cup unsalted butter cold
- 190g or ¾ cup plus 1 tablespoon buttermilk low or full fat
- 1 teaspoon pure vanilla extract
Vanilla Glaze
- 130g or 1 cup powdered sugar preferably made with tapioca starch
- 2 teaspoons pure vanilla extract or paste
- Pinch fine sea salt
- 2-4 tablespoons milk or heavy cream as needed, to thin out the glaze
Method
- Pour the sugar into a large mixing bowl. If you are using the lemon zest, zest the lemons right over the sugar then rub the zest into the sugar with your fingers.
- Add the salt, flour and baking powder. Whisk to combine.
- Use the largest side of a cheese grater to slice the butter into thin pats. Toss the butter into the flour mixture and rub it in, breaking up the butter bits until they are about kidney bean sized. (Alternatively, slice the butter with a knife and use a pastry cutter to cut it into the flour).
- Separately whisk together the buttermilk and vanilla. Pour it into the larger bowl and stir to disperse the liquid into the dry. Use your hands to bring the dough together, folding it over and squeezing it together, until you have a shaggy ball.
- Transfer the dough onto a floured surface and flatten into a disk that’s about an inch thick. Slice the dough into quarters and stack them, then press them down to flatten into a disk again (this step develops more flaky layers). Slice the disk in half, then quarters, then eights so you have 8 small scones.
- Grease then line a half cookie sheet with parchment paper. Arrange the scones so they are fairly close together, no more than half an inch between them (this helps them rise higher). Set in the freezer, to chill for about 20 minutes.
- Preheat the oven to 400 F. If you will not be glazing the scones, you can brush the tops with cream/milk and sprinkle coarse sugar on top. Bake the scones until deeply golden all over and the centers no longer look wet; about 20-25 minutes. (p.s. Sometimes they rise and collapse onto their neighbors, that’s those lovely flaky layers!)
- If you are glazing, wait until the scones are completely cool. Whisk together the glaze ingredients (add more milk/cream to thin it out, more sugar to make it thicker) and spoon over the baked scones.
Did you make this recipe?
Share & tag me on instagram @buttermilkbysam


hi! I have leftover brown butter and was wondering if I could use it here? Love love your recipes and can’t wait to try this! 🙂
Sometimes when we swap in brown butter for regular butter other adjustments need to be made so I’d recommend using it for this recipe instead: brown butter scones.
First, I love, love , love your blog site . The recipes are alwayas so delicious. I look forward to new posts .
That said, I also love making scones and will certainly try this recipe very soon.
One trick or suggestion is to make the scones right up to the point of baking, and refrigerate them if planning to use for breakfast
In the morning take them, fully chilled, from the fridge , brush on some buttermilk of heavy cream …coarse sugar as well if preferred…and bake. I always get a good, high rise because the butter is well chilled.