Raspberry Meringue Pie
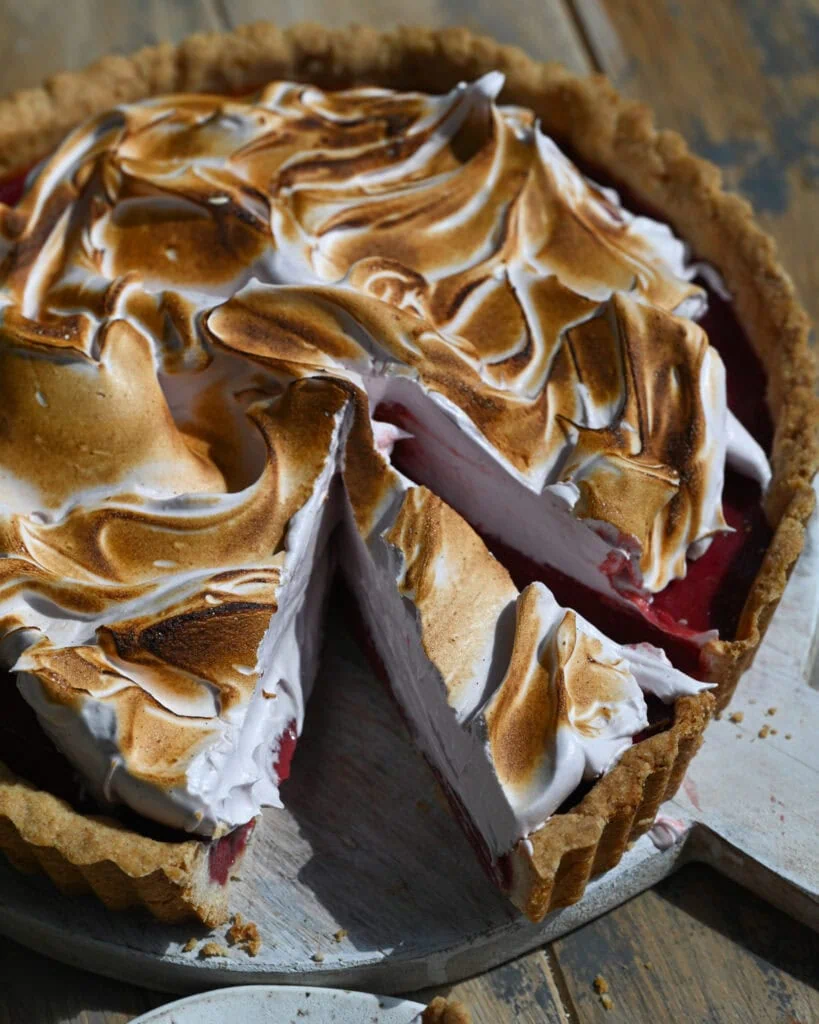
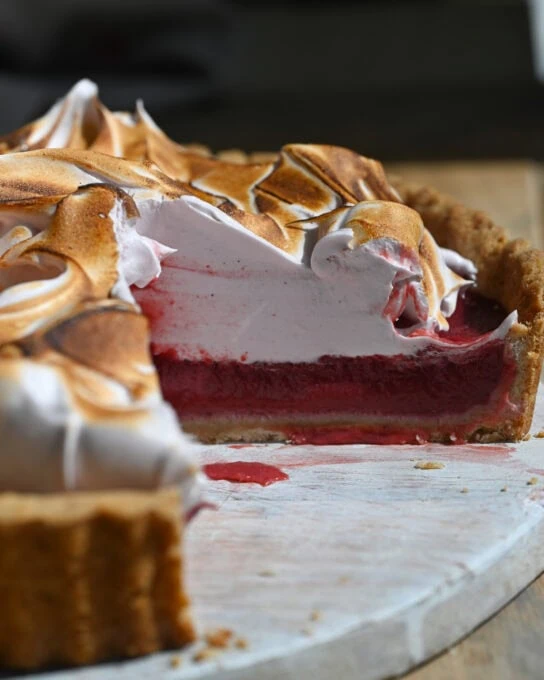
A raspberry meringue pie for raspberry lovers: this starts with a buttery pate sucree crust, a silky fully raspberry filling (no lemon!) and is topped with a creamy, billowing raspberry meringue.
Originally Published March 2022.
A raspberry meringue pie for raspberry lovers: this starts with a buttery pate sucree crust, a silky fully raspberry filling (no lemon!) and is topped with a creamy, billowing raspberry meringue.
I finally did it! I made you a new one – gosh I HOPE this one lands well and that you fellow raspberry lovers will find great joy in every slice.
Recipe Origins
This raspberry meringue pie recipe was originally shared in 2022, shortly after I had published a raspberry curd recipe. It featured the curd as a filling, a traditional all butter pie crust, and a vanilla swiss meringue topping. Some early issues came up though: a few people said there wasn’t enough curd to fill the pie and some readers wanted to do without the lemon so the raspberry flavor would stand out.
I have been reworking the recipe for a while now and after many tests (and many, many cracked eggs!) I believe this to be the very best way to make a raspberry meringue pie: first we’re working with a tart shell here, as this will need to be refrigerated, the filling is now nearly doubled and has no lemon: all the focus is on the raspberry. Finally, the meringue itself has become raspberry as well: much like these raspberry meringue bars which are much loved on the blog.
If you liked the original pie components but wanted a more robust filling, use the filling recipe on this page – I made it about seven times before I felt it was exactly what it needed to be. You are still welcome to use the all butter pie crust, and to make a vanilla meringue if you prefer.

Recipe Ingredients
Pie Crust: use this recipe. You’ll only need half of it. You can also use store-bought pie crust.
Alternatively: you can make the pate sucree below, which is more of a tart crust. I like it for pies that will be in the fridge for a while.
Raspberries: how fresh and vibrant tasting/looking your berries are will determine the color and flavor of the filling. Darker berries will give a pop of bright pink whereas more muted berries will result in a mauve colored filling. I tend to use frozen organic berries.
Sugar: fine granulated sugar. Some for the crust, the filling, and for the meringue.
Eggs: I experimented with this a lot, trying to figure out how many whole eggs I could use, or how many yolks (considering I have three leftover from the meringue). The reality was that I could get a good enough curd with using less yolks but it wasn’t as tasty or thick.
Salt: Fine sea salt. Table salt has a saltier flavor so if you are using it, halve the amount.
Butter: unsalted butter. This makes the filling silky smooth. We’ll also need some for the crust.
Starch: tapioca or cornstarch. I use the former.
Freeze dried raspberries: for the meringue. We’ll grind them to make a ‘raspberry powder’, soak the powder in some water to make a ‘raspberry juice’ and use that to make an italian meringue. You can skip this if you are making a plain vanilla meringue.

How to Make Raspberry Meringue Pie
First: How to make the filling
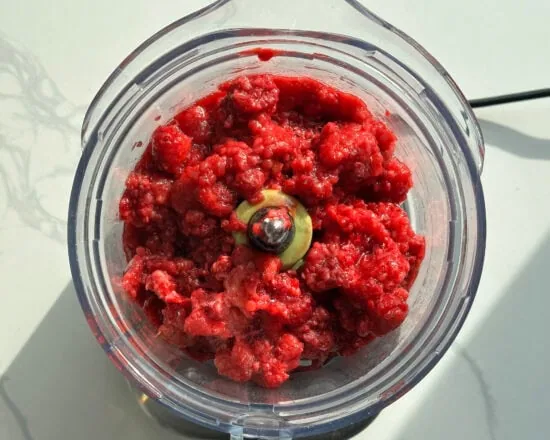
Thaw your frozen raspberries (no need to thaw if yours are fresh) and then add them to a food processor. Process on high until you have a puree.
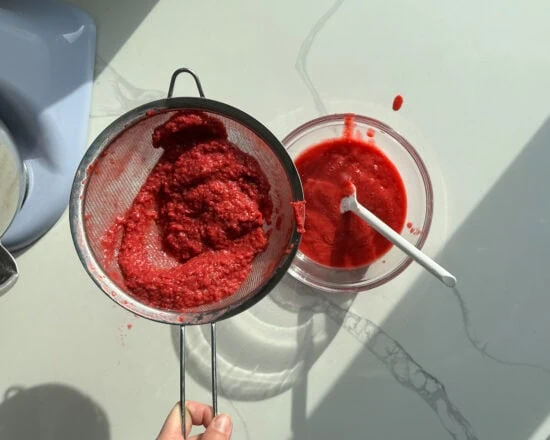
Pour the puree through a fine mesh sieve to remove the seeds; we’re aiming to capture over a cup of smooth puree. When you have 300g or more you can stop (it can be a difficult task as you really have to press the puree through).
Pour the puree into a pot, along with the sugar. Whisk it together then add the eggs and all of the yolks (since you need some of the whites for the meringue, separate them now and set three aside – you can also make a 4 egg white meringue or even 5 if you want a mile high meringue – notes on that below!).
Set the mixture over medium heat and cook, stirring frequently. Add a pinch or two of salt – this helps bring out all the flavor.
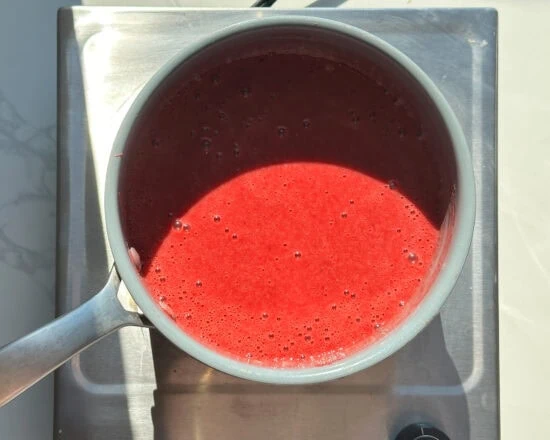
We’re looking for the curd to thicken on the bottom and for the temperature to reach about 170 F – keep a thermometer handy to know when it gets there.
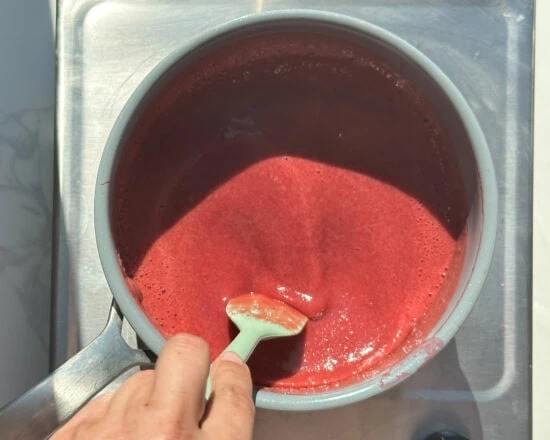
Slice the butter and set it in a bowl with a fine mesh sieve over it (sorry we have to do this again! But this time it’s easier 😉 )
Pour the cooked curd through the sieve over the butter. You’ll likely be left with little bits of egg whites, that’s what we wanted to get out of our curd.
Stir the curd as the cold butter melts. Set aside. You can do this up to a week ahead of time, set it in the fridge in an airtight container.
Second, how to make the crust
If you are using the traditional pie crust: Make half of this pie crust recipe. It can be made up to two days before baking. If you need to make it earlier and store it longer, chill it for two hours in the fridge then freeze it.
If you are making the shortbread crust below, start by whisking the dry ingredients together. Add some lemon or lime zest here, if you’d like.
The butter should be soft, slice it and add it to the bowl. You can do this with a hand mixer or in a food processor (the latter is easiest) then mix until the dough starts to come together. In a food processor it will clump into large balls. With a hand mixer the dough will be in little bits but if you squeeze some together in your palm, it should hold shape. Mix until this happens (the goal is for the butter to be fully distributed into the flour).


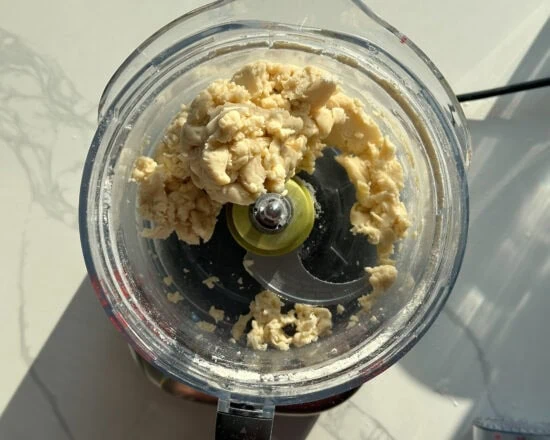
Press the crust into a tart pan; use a 9 inch metal pan with a removable bottom. If your pan is bigger the filling will come out thin and the dough for the crust might not be enough to cover it (vice versa for an 8 inch).
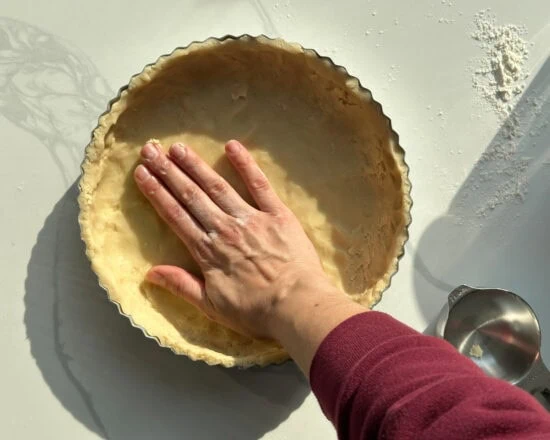
To get the dough to flatten into an even bottom crust and sides, use a measuring cup: flour it so it doesn’t stick to the dough and smooth it over the bottom and against the sides. I will also sometimes lay a sheet of parchment over the dough and use the measuring cup over it to smooth it over (you’ll need that sheet when it bakes anyway).
Chill the dough, this helps rest the gluten and the dough will hold better shape, just for 10 minutes or up to 30.
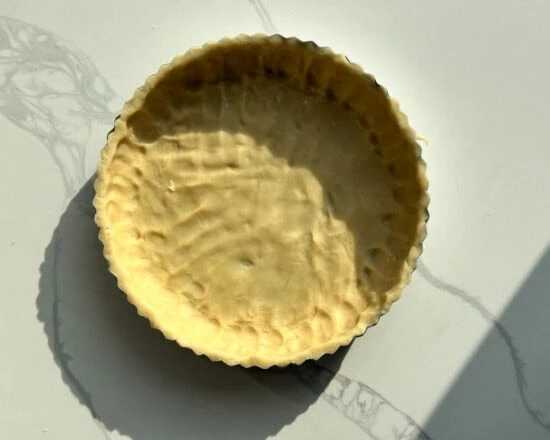
Bake the Crust + the Pie
Preheat the oven to 350 F and if you haven’t already, lay a sheet of parchment over the dough. Fill the pan with pie weights – these will prevent the crust from bubbling up as it bakes.
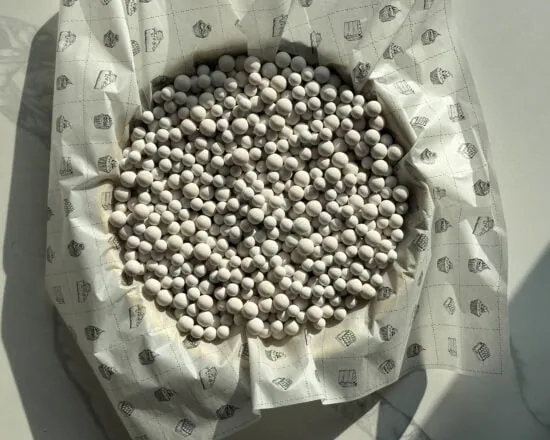
We’ll pre-bake it for about 30 minutes, we’re looking for the edges to have turned golden and a set bottom.
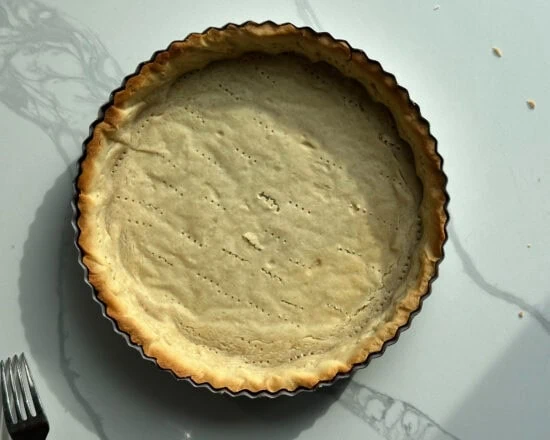
Out of the oven, remove the parchment along with the weights. If you want a very crispy crust, you can set it back in the oven for another 10 minutes (I’d dock it with a fork on the bottom first).
Whisk the starch into the curd – if you want a really set curd, you can go up to a tablespoon (3 teaspoons) or even four but you’ll risk it having a bit of a powdery texture. Then pour the curd into the pre-baked crust. Smooth it into an even layer.
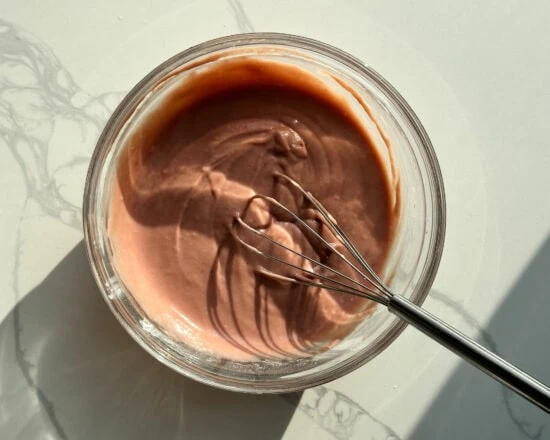
Now bake the pie again, this time the focus will be on the filling: we’ll bake it until the outer rim (at least 2 inches) is set – the middle will stay wobbly. Let it cool at room temperature until you can handle it, then set it in the fridge to chill fully.

Last, how to make the meringue
If you’d like to make a vanilla meringue check out this page on how to make a swiss meringue on this “basic swiss meringue” recipe page. That recipe uses 4 egg whites, if you want to scale it down use 3 egg whites and 150g or ¾ cup sugar.
If you’re using my “raspberry meringue” below: start by grinding freeze dried raspberries into a powder. There will be seeds so you’ll need to sift those out – you want about 2-3 tablespoons of powder.
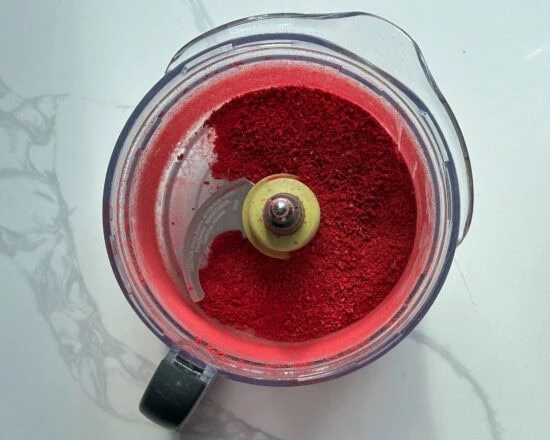
Stir the powder into the water and let it sit: we’re kind of making a raspberry juice here.
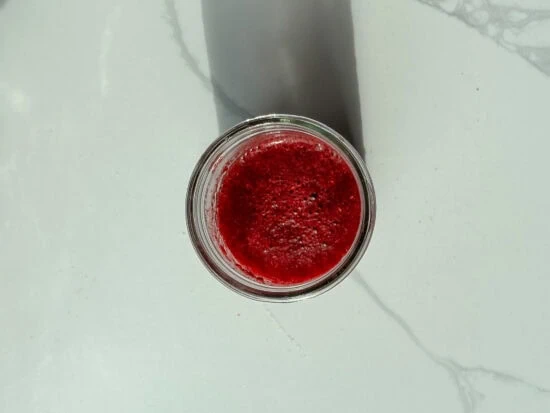
This meringue is made italian style so we’ll cook the sugar with the water/juice until it reaches the candy point: at 245 F. When it’s close to temperature, start whisking the egg whites.


When the egg whites are frothy and the syrup has candied, turn the mixer to low and slowly pour in the hot syrup. Do your best to get it to go straight into the egg whites rather than on the side of the bowl.
Once it’s all in, turn the mixer speed up to medium and whisk until you have a thick, glossy meringue that holds stiff peaks: when you turn the whisk attachment upside down the meringue won’t drop (or not much anyway). Close to the end, add the salt and vanilla.

Topping the Pie
If you’ve left the pie in the fridge overnight, it may have developed some condensation; you can pat this dry with a paper towel.

Dollop the meringue onto the pie then use a spoon or offset spatula to spread it into pretty swoops. Now you can toast it, I like a kitchen torch for this task. Toast as little or as much as you like – you see two pies on this page, for one I did a lighter toast and another I wen’t pretty dark and well, toasty =)

The pie is now ready to serve but it’ll keep in the fridge without weeping for about 12 hours.


Troubleshooting
My filling isn’t as dark or vibrant as yours
The color of the filling depends on the raspberries themselves; darker more vibrant berries will produce a similarly colored filling. Softer pink raspberries will make more of a mauve filling. I’ve purposely added different pies I’ve made with different colored berries so you can see the difference (see above!).
My meringue didn’t get to stiff peaks or is grainy
When you pinch the egg white/sugar mixture over the double boiler it should be nearly devoid of sugar granules. If there were a lot of remaining granules when you took it off the heat, the meringue won’t set up or will be grainy. Another reason a meringue won’t get to stiff peaks is if there was some kind of fat that got in the way: egg yolk bits in the egg whites, some oil residue left on any of the utensils or bowls you used.
The filling didn’t or won’t set/is too runny
Don’t take the pie out of the oven until the sides are firm and do not wobble when you gently shake the pie, the center should still wobble a bit but that will firm up in the fridge.
Can I make this ahead of time?
The curd can be made and stored in the fridge (airtight container) for two weeks. The pie, once baked, will be fine in the fridge for a few days. The meringue needs to be made the day of serving.
How can I toast a meringue?
I use a kitchen torch. You can also set it under the broiler in the oven, for just a minute or so until it’s got color on top.
Raspberry Meringue Pie Recipe
Raspberry Meringue Pie
Ingredients
Shortbread pate sucree crust
- 65g or ¼ cup powdered sugar
- 2 tablespoons granulated sugar
- 230g or 1 ¾ or cups all purpose flour
- 140g or 10 tablespoons butter softened (salted or unsalted)
- Pinch fine sea salt
- Vanilla extract or paste if desired
Raspberry Filling
- 600g frozen raspberries thawed (to make 300-325g or 1 ¼ - 1 ⅓ cups puree)
- 150g or ¾ cup fine granulated sugar
- 2 eggs plus 5 yolks from large eggs
- pinch fine sea salt
- 87g or 6 tablespoons butter unsalted and cold
- 2 teaspoons tapioca starch or cornstarch
Raspberry Meringue
- ½ cup freeze dried raspberries
- 120g or ½ cup filtered water
- 3 egg whites from large eggs
- 133g or ⅔ cup fine granulated sugar
- 1 teaspoon vanilla bean paste
- ¼ teaspoon fine sea salt
Method
Make the Raspberry Filling (up to a week ahead of time or at least a few hours before baking the pie)
- Thaw the raspberries then puree them. Press the puree through a fine mesh sieve to remove the seeds.
- Add the puree (1 ¼ cup to 1 ⅓ cup) to a pot along with the sugar, eggs and yolks. Whisk well. Set over medium low heat and cook until it thickens, on a thermometer it should register 165-170 F.
- Slice the butter into a bowl and set a fine mesh sieve over it, pour and press the raspberry mixture through the sieve to remove as much as possible. Stir the butter into the mix until it has melted. Leave to cool to room temperature then set in the fridge to chill fully.
Make the Crust
- Whisk together the flour and sugars. Slice the butter and add the salt and vanilla. Use a hand mixer to beat together until the dough can be squeezed together and holds its shape (the mixer may make it look like it’s in bits but after a few minutes of mixing you can squeeze and try it). Alternatively you can make the crust in a food processor; when it clumps together in one ball it’s done mixing.
- Press the crust into the bottom and up the sides of a 9 inch tart pan with a removable bottom. Take your time doing this to make sure it’s even and all sides are covered. Use the back of a measuring spoon to press it down, flour it if it gets sticky. You can also lay a sheet of parchment paper over the dough then use the measuring cup to press down and against the sides (the paper stops it from sticking).
- Let the crust chill in the fridge for about 10-30 minutes.
Blind Bake the Crust & Bake the Pie
- Preheat the oven to 350 F. Over the crust lay a sheet of parchment paper and fill the pan with pie weights (dried beans work too). Blind bake the crust until it’s turning golden on the edges, about 30 minutes.
- Use the parchment to lift the pie weights out. If any of the dough has gone misshapen now is a good time to press it back down.
- Whisk the starch into the curd until you can’t see any bits.
- Pour the filling into the pie crust. Set on a baking sheet (I do this to avoid breaking the pie when lifting it out of the fridge) and bake until the edges are set and only the center wobbles a bit, about 15-20 minutes. Let it come to room temperature then chill in the fridge for a few hours to set.
Make the Meringue (day of serving)
- If you are making a vanilla meringue, skip this and head to the corresponding page.
- For a raspberry meringue: Grind the freeze dried berries into a powder. Fill a cup with a little over 120g of water (½ cup) and add 2 tablespoons of the raspberry powder. Stir to combine then leave it for about 10 minutes to dissolve.
- Set the sugar in a pot and over it pour 120g of the raspberry water through a fine mesh sieve (to get rid of the bits), stir to combine. Cook it on medium heat, until the temperature reaches 240-245 F. This can take awhile, keep a close eye on it. When it’s getting close, set the egg whites in the bowl of a stand mixer and affix the whisk attachment. Begin whisking on low then medium until the egg whites are frothy.
- When the raspberry syrup reaches temperature and the egg whites are frothy, take it off the heat. With the mixer whisking on low, slowly pour the syrup into the whites.
- Whip for 7-10 minutes until you have stiff peaks. While it’s whipping, add the extract and the salt. Stiff peaks is when you can remove the whisk, turn it upside down and the meringue won’t droop or will only just a bit. Spread the meringue over the cooled curd in an even layer.
- Use a kitchen torch to toast the top of the meringue. You can chill this in the fridge for a few hours before serving but the pie won’t keep well overnight (meringue tends to weep) so best to eat it the day of making the meringue.
Did you make this recipe?
Share & tag me on instagram @buttermilkbysam


