No Churn Pistachio Ice Cream
Smooth pistachio ice cream made with freshly roasted pistachio paste. This is an easy no churn recipe, made by whipping heavy cream and sweetened condensed milk.

We already have my pistachio ice cream recipe here. That one begins with a classic custard base and is churned in an ice cream machine, it’s perfect for someone who wants a true ice cream.
For those who don’t have a machine and still want the deliciousness that is true pistachio flavored ice cream, I’ve made us a no churn version. This one begins (like the churned ice cream) with raw pistachios roasted until fragrant and hot then processed into a nut butter paste. With the pistachio paste, we’ll combine a basic no churn base.
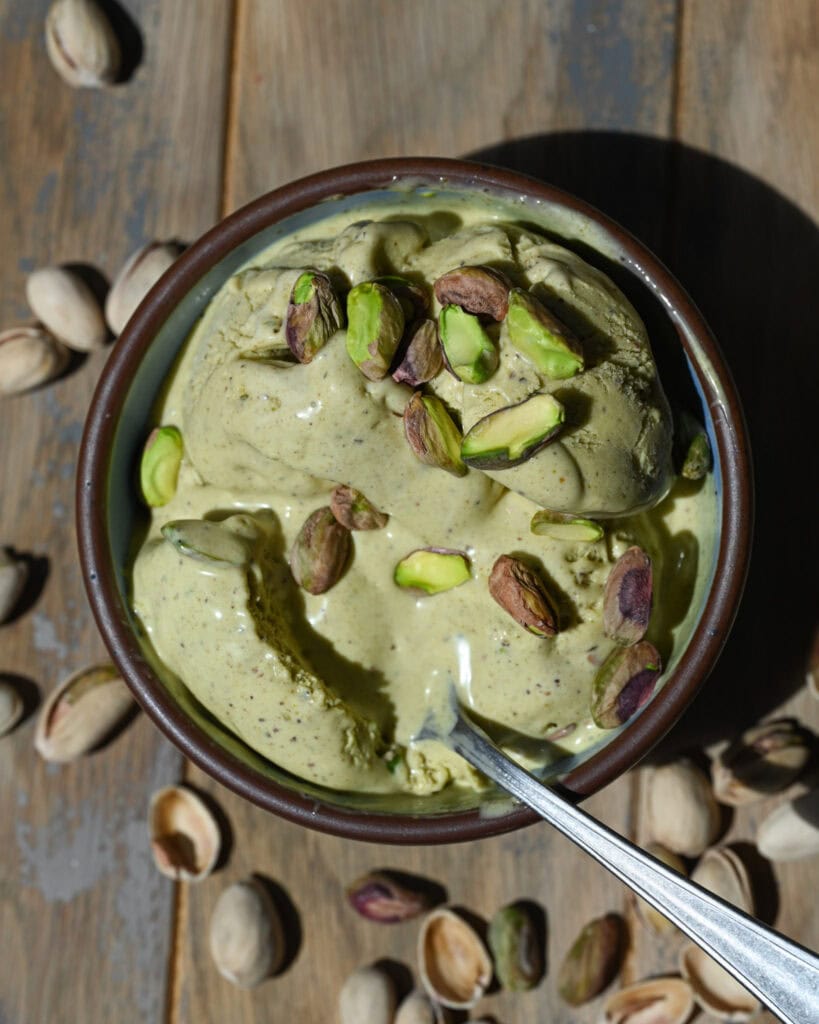
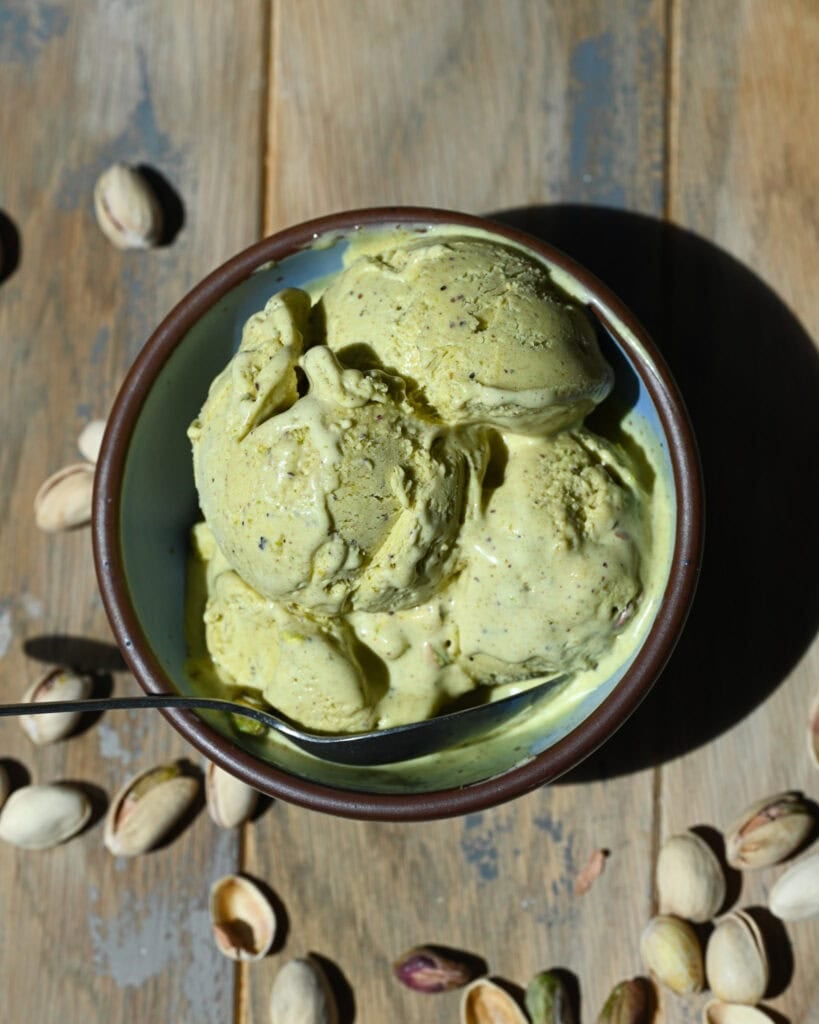
The result is a wonderfully creamy ice cream that tastes of nothing but pistachio!
Recipe Origins
I followed my method for my pistachio ice cream recipe but instead of adding the pistachio paste to a custard base (egg yolks and dairy) we’re adding it to a no churn base. No churn ice cream is pretty simple: a can of sweetened condensed milk mix with two cups of heavy cream that’s been whipped.
The act of whipping the heavy cream is what gives the ice cream it’s airier, creamier texture. Whereas an ice cream machine churns the base by slowly freezing it while agitating it (thus incorporating air), we are simply whipping the air in before freezing in the no churn method.
One thing I do differently here: I split the heavy cream with milk (you can also use light cream) to lighten the overall ice cream. The purpose of this was to lighten the overall base, since the pistachio paste we’re adding to it is heavy, and full of nutty fats that would have overloaded the base.
Recipe Ingredients
Pistachios: raw pistachios, sans the shell. You can shell them yourself or buy ‘pistachio nutmeats’. Using raw pistachios is best so that the nut is very freshly toasted for the paste. If you can only find roasted pistachios, toast them for only 5-7 minutes.
Sweetened condensed milk: this is milk that has been cooked down with sugar to remove much of its water content. If you are making this dairy free, opt for a nut or oat sweetened condensed milk.
Heavy cream: or heavy whipping cream. I use ultra pasteurized. If you are making this dairy free, use a plant based whipping cream. I wouldn’t use coconut as it can overtake the pistachio flavor.
Milk: whole milk or, for a dairy free option; a nut milk (pistachio milk would be great here if you can find it!).
Vanilla: pure vanilla extract, or vanilla bean paste.
Salt: fine sea salt. If using table salt, use half the amount.
How to Make No Churn Pistachio Ice Cream
Make the pistachio paste
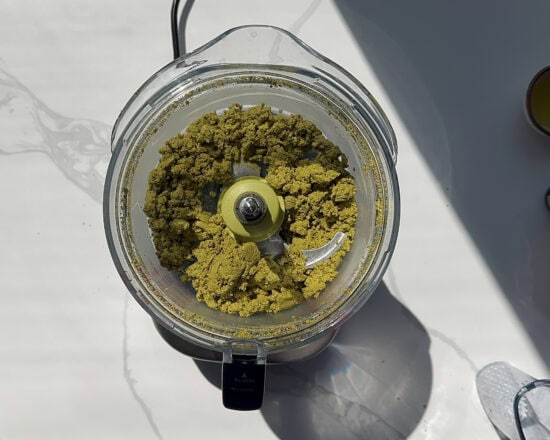
Preheat the oven to 350 F. Spread the shelled raw pistachios on a baking sheet.
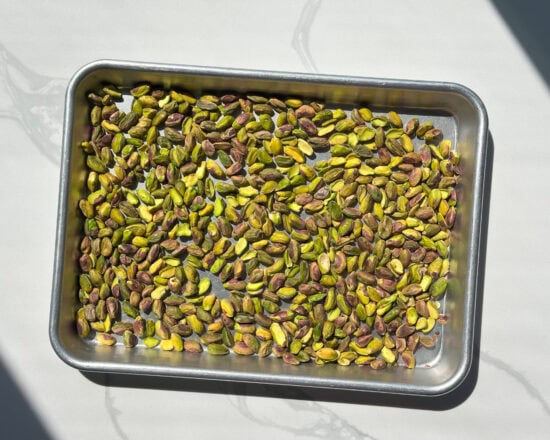
Bake for 10 minutes, until very hot and fragrant. Pour into a food processor.
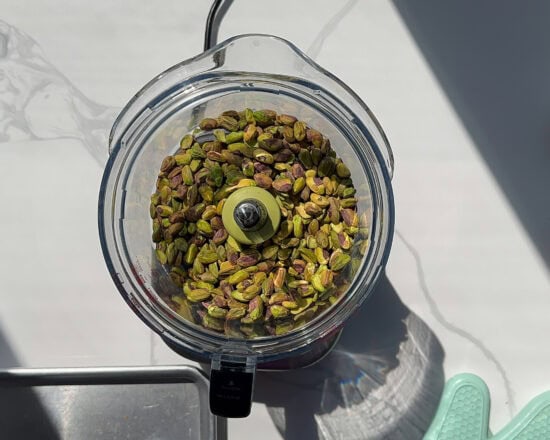
Run the processor on high: this will at first turn the nuts into pistachio ‘flour’ (finely ground nuts), then into a thick paste, and finally a loose paste.
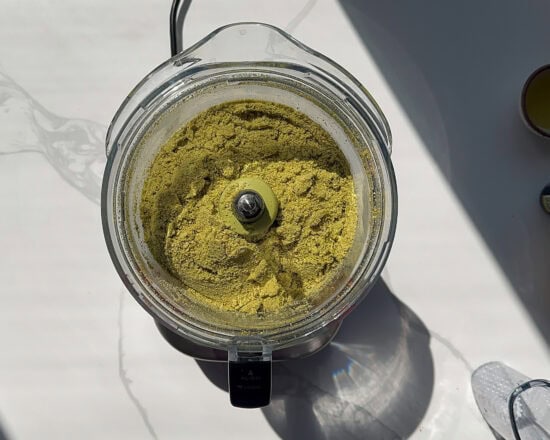
Depending on the strength of your food processor, this can take 10-30 minutes. If the processor is bigger than a 9 cup, you may need to scrape down the sides every few minutes to keep the blades hitting the nuts.
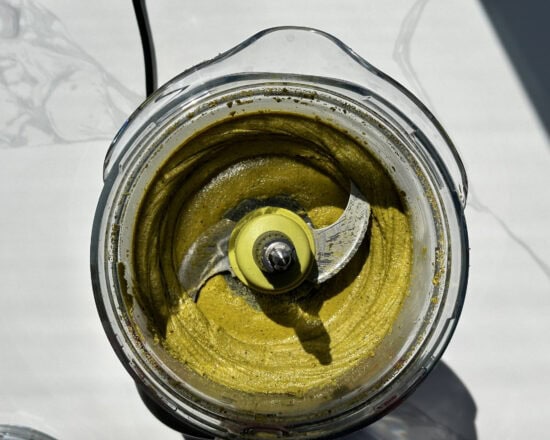
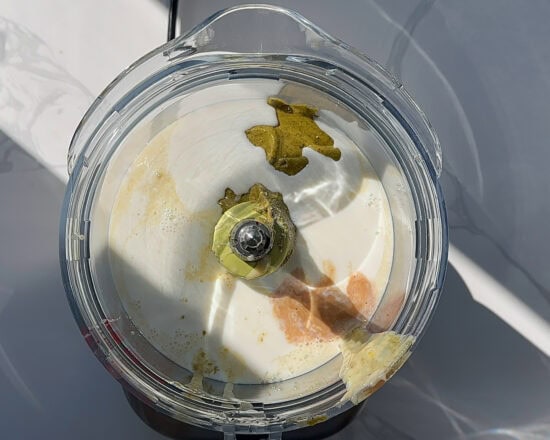
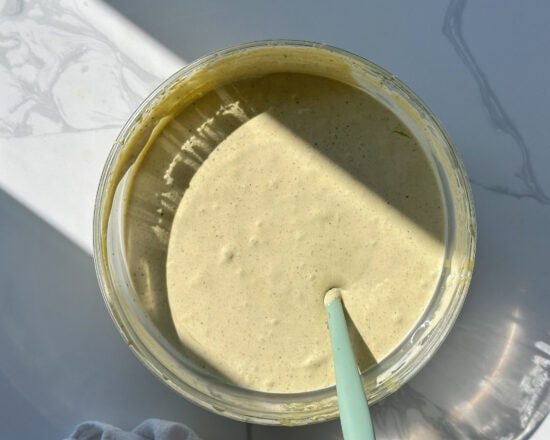
Once you have a loose paste that easily runs off the spatula, add the sweetened condensed milk and whole milk and process to just combine.
Whip the cream
Place the heavy cream in a large bowl and chill it for 10 minutes.
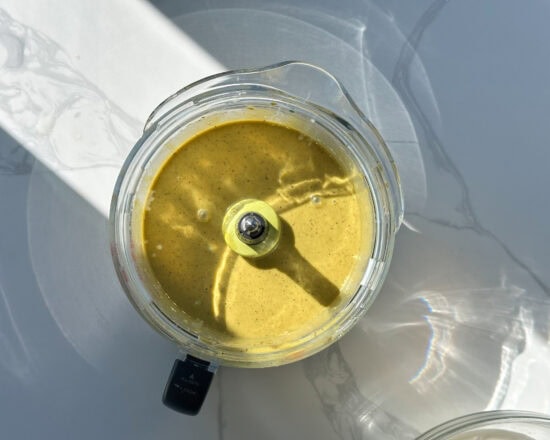
Add the salt and vanilla to the cream then use a hand mixer to whip the cream to stiff peaks: the beaters will leave ribbons of cream in the wake of their movement and the cream will hold shape when the beaters are lifted out (it might droop off the beater, that’s ok).

With the mixer on, add the pistachio and sweetened condensed milk mixture and beat to combine.
Stop when the mix is a fluffy, airy creamy mix.
Then pour into a freezer safe, airtight container.
Freeze for 8 hours. Store in the freezer, the ice cream will last about a month.
Note: straight out of the freezer the ice cream is hard and difficult to scoop. Give it 5-10 minutes at room temperature and it will scoop like a creamy dream!
No Churn Pistachio Ice Cream Recipe
No Churn Pistachio Ice Cream

Ingredients
- 200g raw pistachios shelled
- 396g or 1 can sweetened condensed milk
- 360g or 1 ½ cups heavy whipping cream or heavy cream
- 120g or ½ cup whole milk or light cream
- 2 teaspoons pure vanilla extract
- ¼ teaspoon fine sea salt
Method
- Set the pistachios on a sheet pan and preheat the oven to 350 F.
- Toast the nuts for 10 minutes, shaking the pan halfway, until very hot and fragrant.
- Set the nuts in a food processor and blend on high until you have a loose paste, this can take up to 30 minutes, depending on the strength and power of your food processor. Scrape down as needed to ensure all the nuts are being processed.
- Add the sweetened condensed milk to the food processor and milk and process until smooth.
- Separately, pour the cold heavy cream into a large bowl, add the vanilla and salt, and use a hand mixer to whip to medium to stiff peaks, you’ll see ribbons forming in the cream and when you lift the mixer the cream will slowly droop.
- Add the pistachio milk mixture, slowly while the mixer is on, and whip until fully combined.
- Transfer to a freezer safe airtight container.
Did you make this recipe?
Share & tag me on instagram @buttermilkbysam


Hello, I landed on your site after searching whether to use roasted or raw pistacios in a gelato recipe. So glad I found the website, it’s impeccable! Beautifully illustrated, beautiful photography and well deveoped recipes. Thank you for sharing.